السلام عليكم ورحمة الله وبركاته،
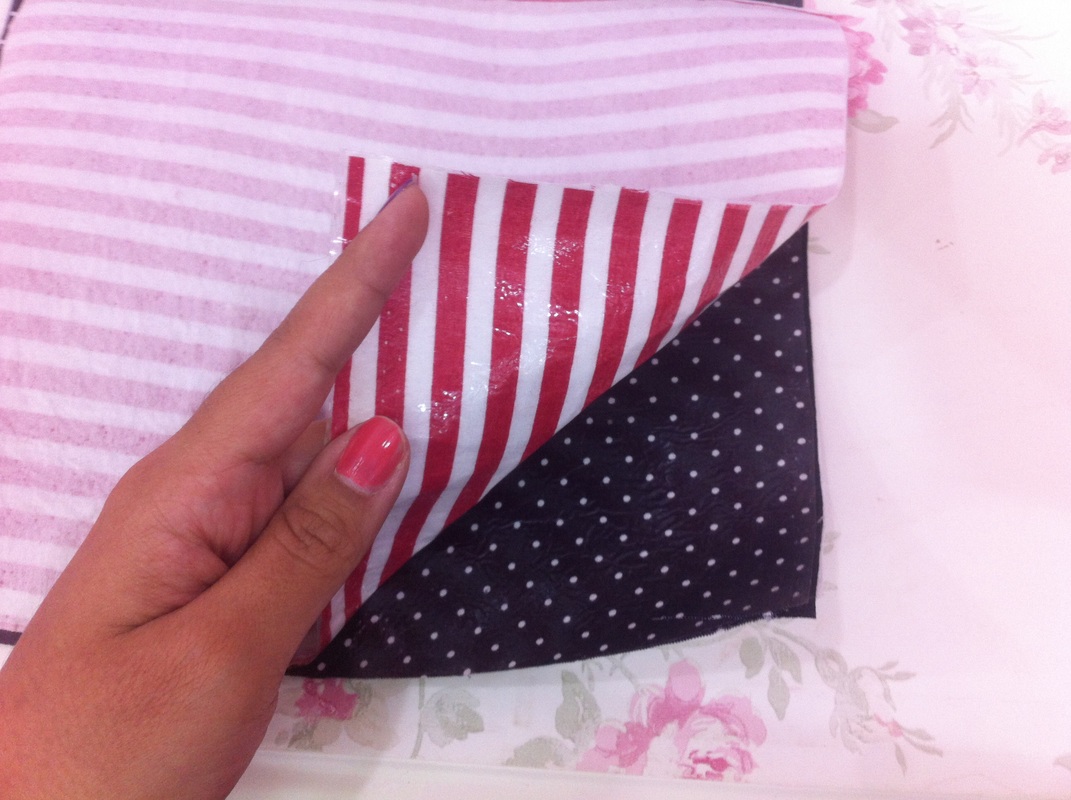
الآن وبعد عودي من السفر بحمدالله اخيرا تسنت لي الفرصه لوضع هذه التدوينه لطريقة عمل هذه الحقيبة المتواضعة ^^ الطريقة جدا سهله لكن قد تحتاجون الى قماش أكثر ثباتا من القطن العادي او يمكن استخدام قطع كرتونية في قاعدة الحقيبة لاعطائها هيكل، لكن في هذا الدرس استخدمت طريقة جدا رائعة لتحويل القماش من قطن عادي الي قطن مضاد للماء (تجدون الشرح هنا) بالإضافة الى قماش مثبت.
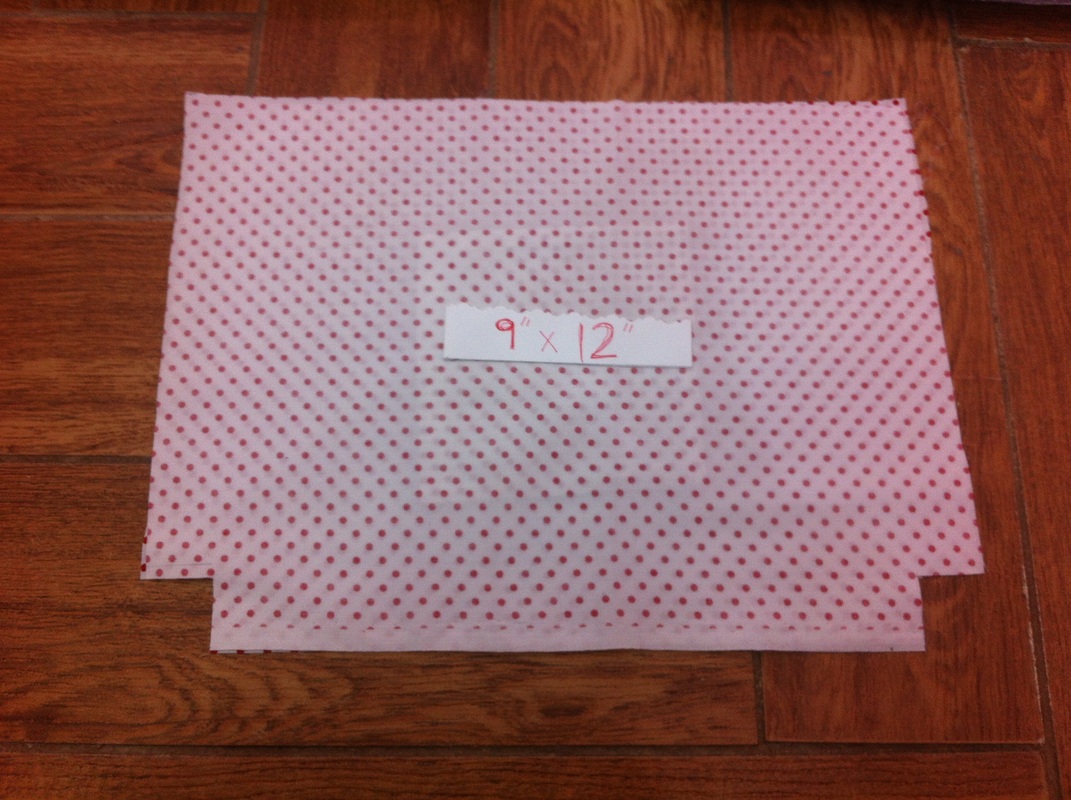
في هذا الدرس سوف نصنع حقيبة من ٣ قطع قماش رئيسية هي:
9" * 12" ١/ بطانة داخلية
9" * 12"٢/ القماش الخارجي
8" * 9.50" ٣/ غطاء الحقيبة او اللسان
(بعض الاغراض المذكورة هنا هي ببساطة ما وجدته متوفرا استخدمي ابداعك الخاص للتعويض عنها في حال عدم وجودها)
كل ما تحتاجيه هو:
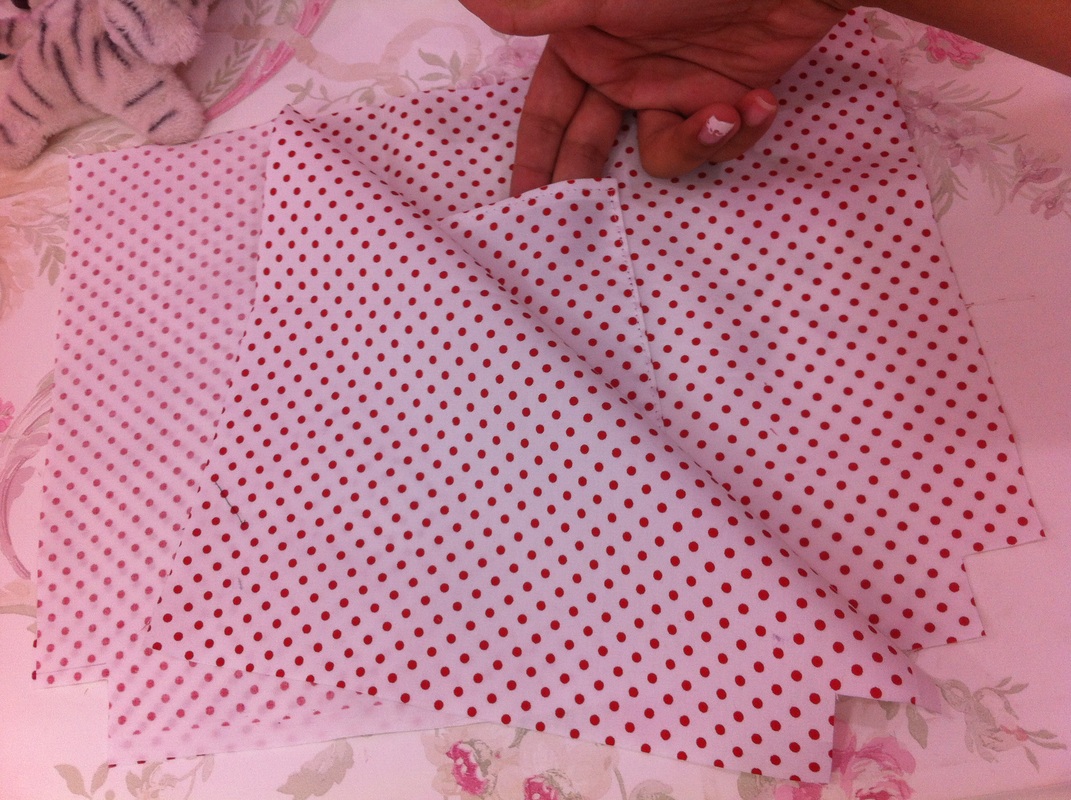
قطعتين متماثلتين من كل قطعة من الثلاث القطع الرئيسية
مقص، خيط، ابرة، دبابيس، ازارير او طقطق
حزام قديم او شريط قماشي لصنع يد الحقيبة
قطعة صغيرة 5" * 5" لصنع جيب داخلي << اختياري
قطعتين صغيرتين من القماش لتثبيت اليد بالحقيبة (يمكن وصل الذراع القماشي مباشرة دون الحاجة لهذه القطع) << اختياري
استمتعوا ^^
الآن وبعد عودي من السفر بحمدالله اخيرا تسنت لي الفرصه لوضع هذه التدوينه لطريقة عمل هذه الحقيبة المتواضعة ^^ الطريقة جدا سهله لكن قد تحتاجون الى قماش أكثر ثباتا من القطن العادي او يمكن استخدام قطع كرتونية في قاعدة الحقيبة لاعطائها هيكل، لكن في هذا الدرس استخدمت طريقة جدا رائعة لتحويل القماش من قطن عادي الي قطن مضاد للماء (تجدون الشرح هنا) بالإضافة الى قماش مثبت.
في هذا الدرس سوف نصنع حقيبة من ٣ قطع قماش رئيسية هي:
9" * 12" ١/ بطانة داخلية
9" * 12"٢/ القماش الخارجي
8" * 9.50" ٣/ غطاء الحقيبة او اللسان
(بعض الاغراض المذكورة هنا هي ببساطة ما وجدته متوفرا استخدمي ابداعك الخاص للتعويض عنها في حال عدم وجودها)
كل ما تحتاجيه هو:
قطعتين متماثلتين من كل قطعة من الثلاث القطع الرئيسية
مقص، خيط، ابرة، دبابيس، ازارير او طقطق
حزام قديم او شريط قماشي لصنع يد الحقيبة
قطعة صغيرة 5" * 5" لصنع جيب داخلي << اختياري
قطعتين صغيرتين من القماش لتثبيت اليد بالحقيبة (يمكن وصل الذراع القماشي مباشرة دون الحاجة لهذه القطع) << اختياري
استمتعوا ^^

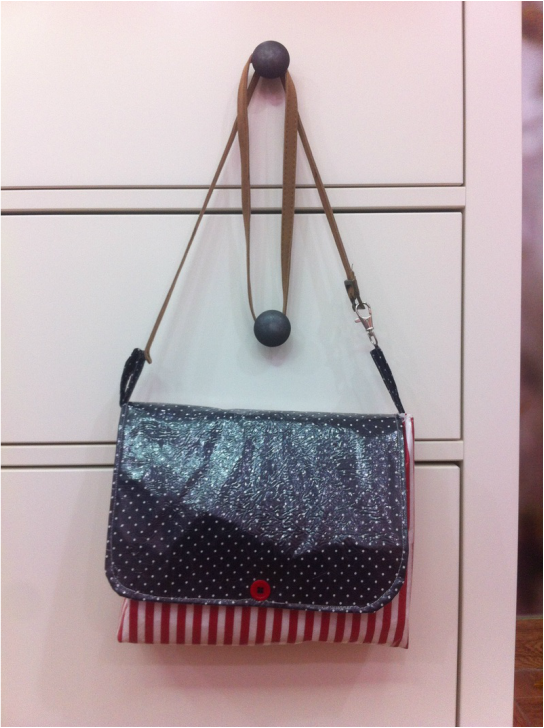
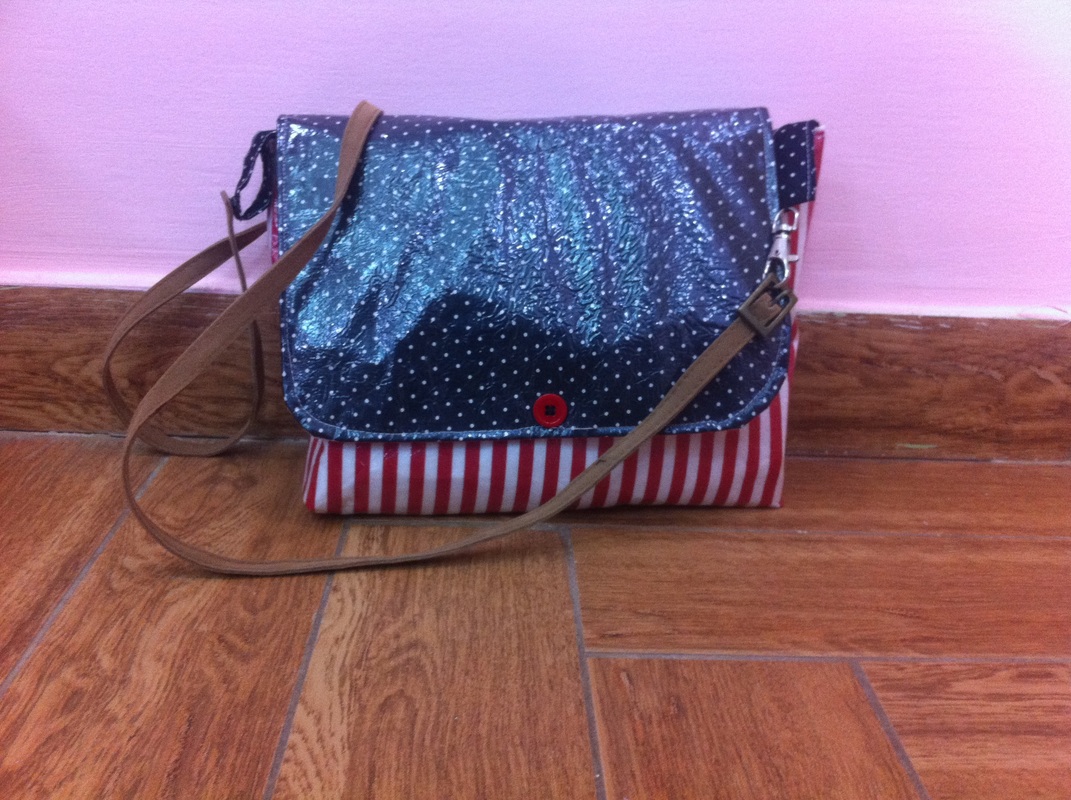
This is my first handmade bag and it was so FUN & EASY to make. I needed a small cross body bag to my trip to United States this summer, like it was so hard to tell by Its 4th-of-July Theme. I used this method to give the bag a little structure and protection from the rain, I also used some stabilising fabric, But you can add some old book hard covers at the base as well.
For making this bag we'll need 3 main pieces:
1/ the lining of the bag (9" * 12").
2/ the outer of the bag (9" * 12").
3/ the flap (8" * 9.50").
( all the things I used here are simply the only ones I found around me, you can use your own creativity to replace any piece if you like)
all you need is:
2 replica pieces from each of the 3 main pieces.
scissors, thread and needle, buttons, pins.
old pelt or make your own fabric strap.
5" * 5" piece of fabric to make the inner pocket >> optional
2 small pieces of fabric to make the handles that will connect the bag to the belt >> you wont need them if you're using a fabric strap just sew the strap to the bag.
Enjoy ^^
Step 1: The lining الخطوة ١: البطانة
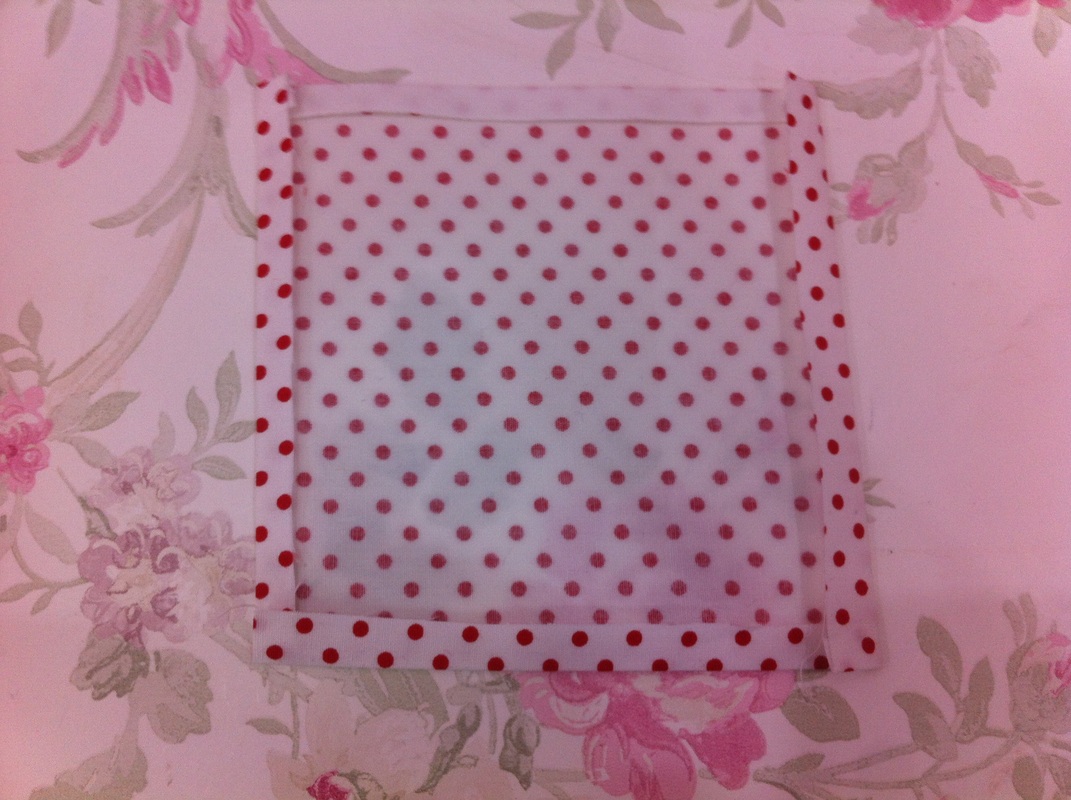
1/ fold the edges of the pocket in اطوي اطراف الجيب للداخل
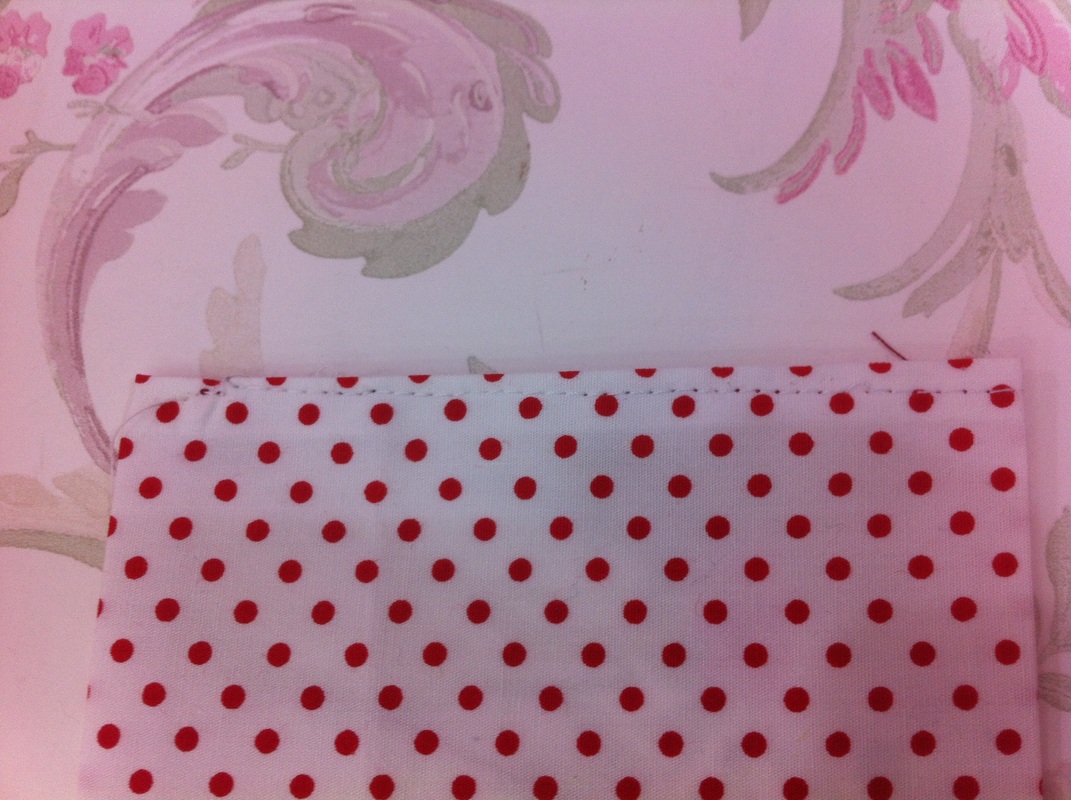
2/ sew the upper edge only خيطي الطرف العلوي فقط
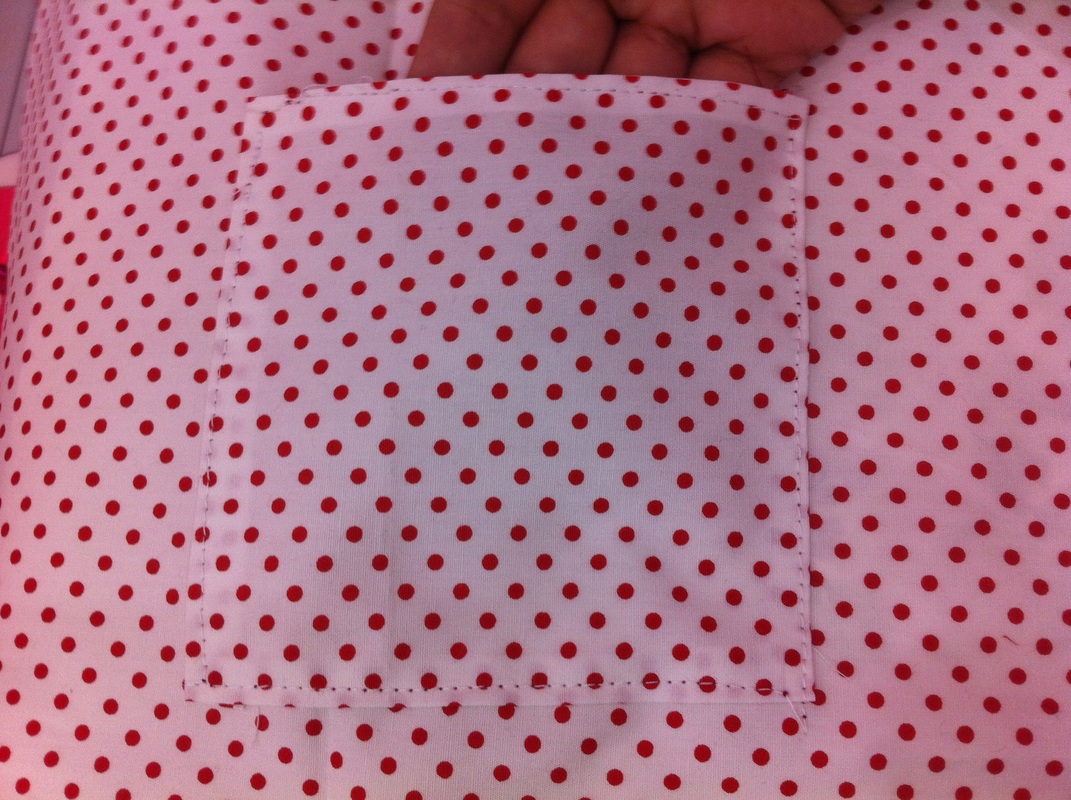
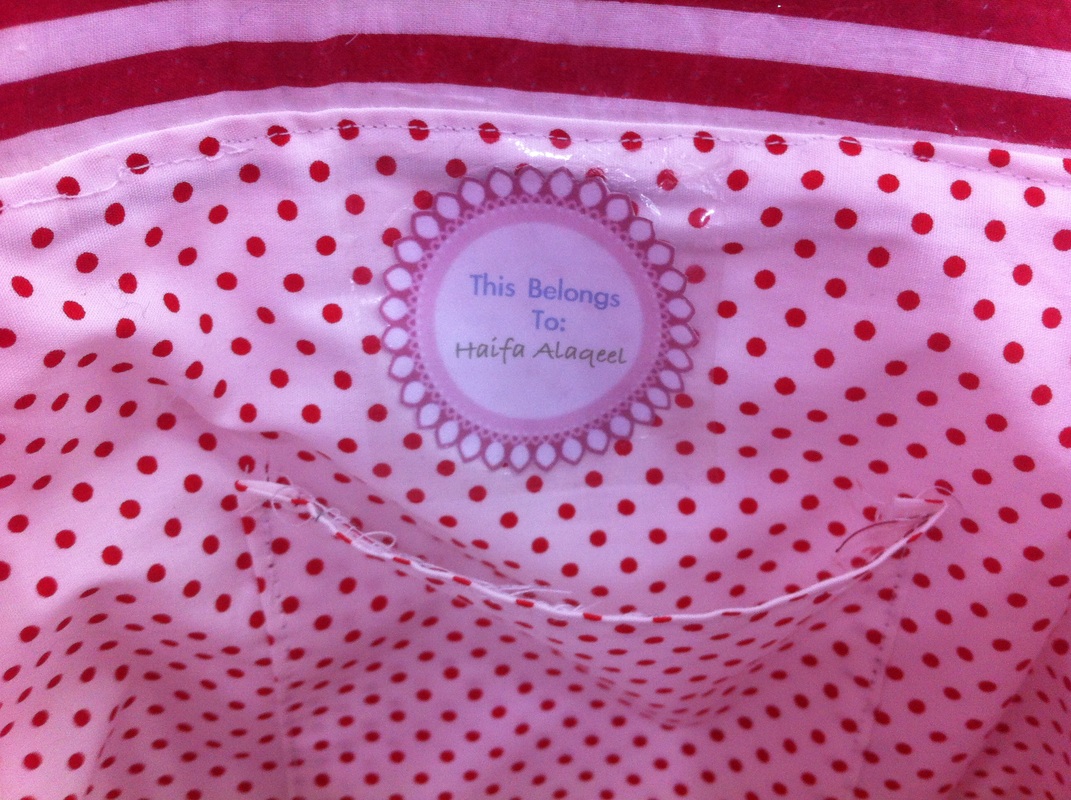
3/ sew the 3 last edges of pocket into one of the lining fabrics. In this stage you can put your tag in one of the lining. خيطي الاطراف الثلاث المتبقية على واحد من اقمشة البطانة، كما يمكنك في هذه المرحلة وضع شعارك في احد البطانة
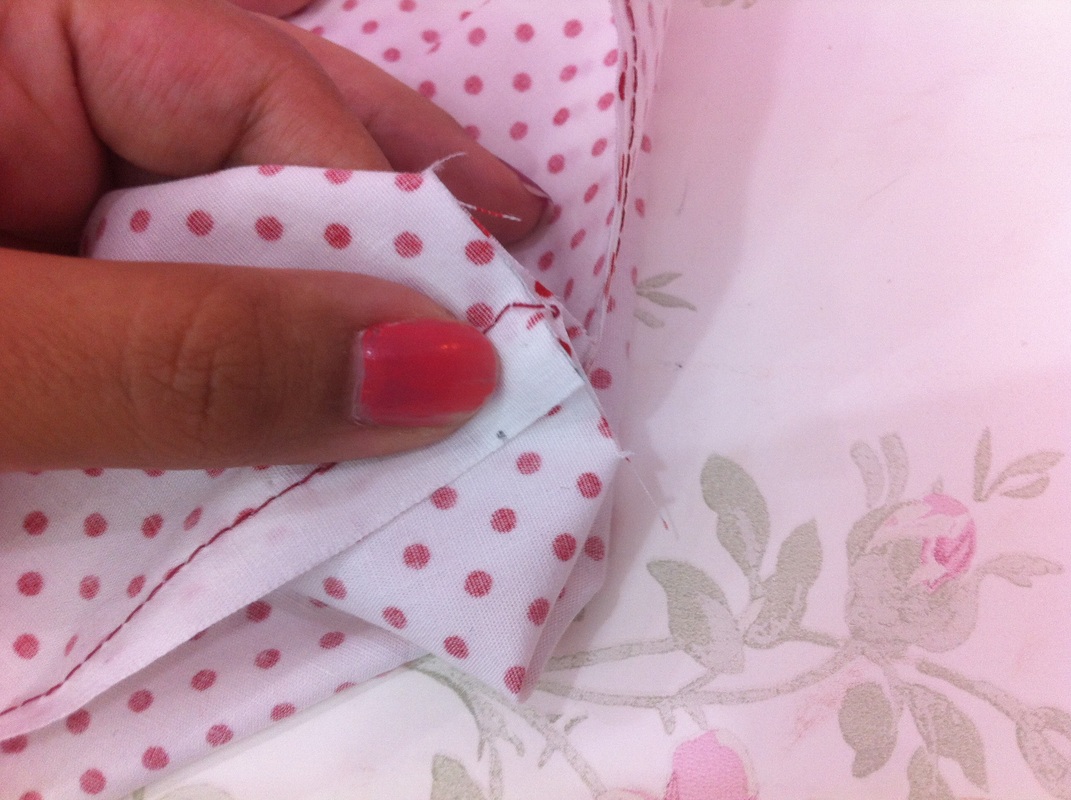
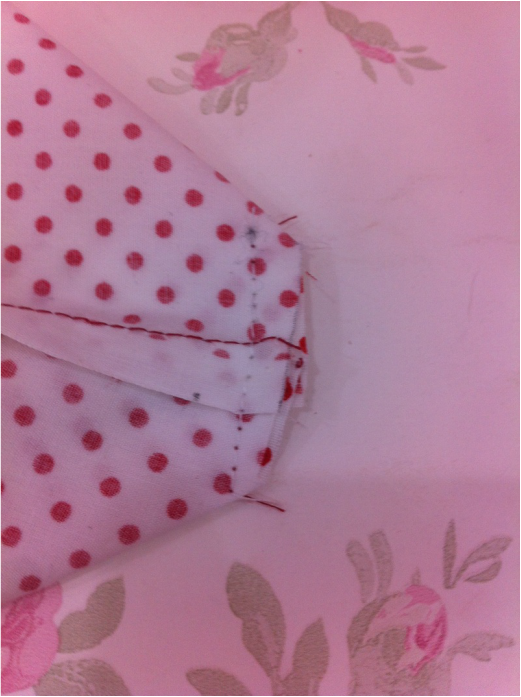
4/ cut about an inch square from 2 corners in the 12" side of the lining قصي مربعين بطول انش واحد تقريبا الموجودتين بجهة الـ ١٢" من البطانة
5
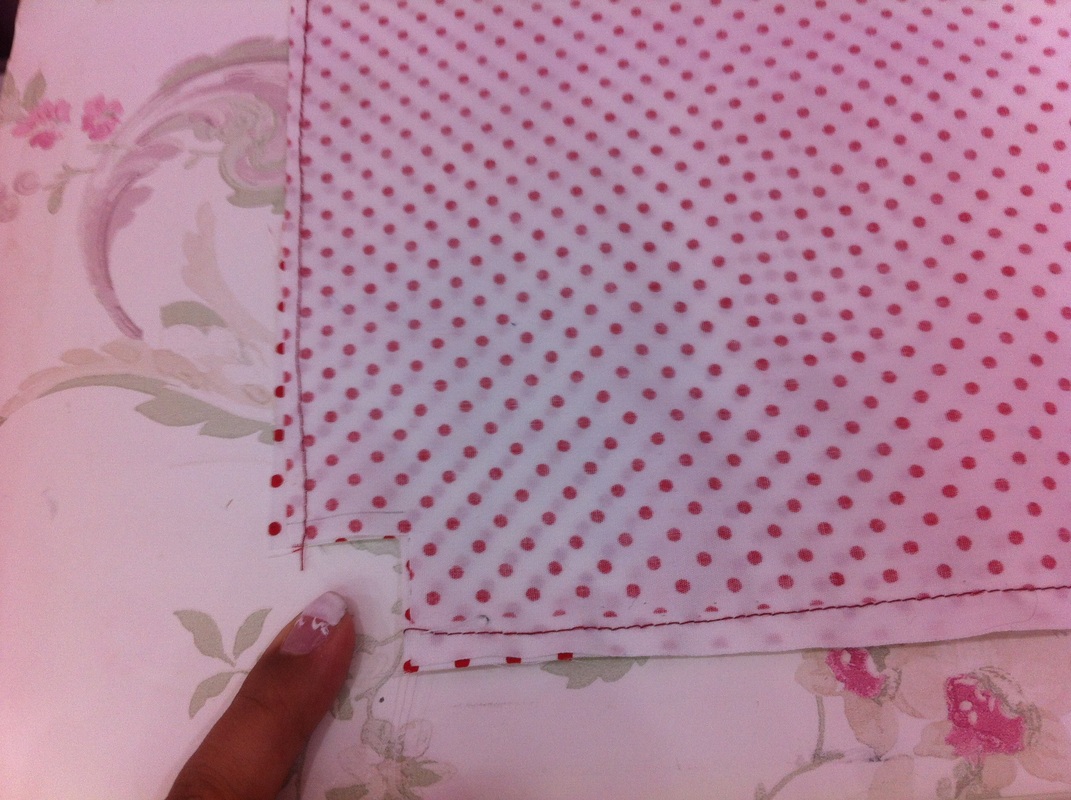
6/ sew the 2 sides of the cut corners خيطي طرفي الزاويتين المقصوصتين

7
8
9/ sew خيطي

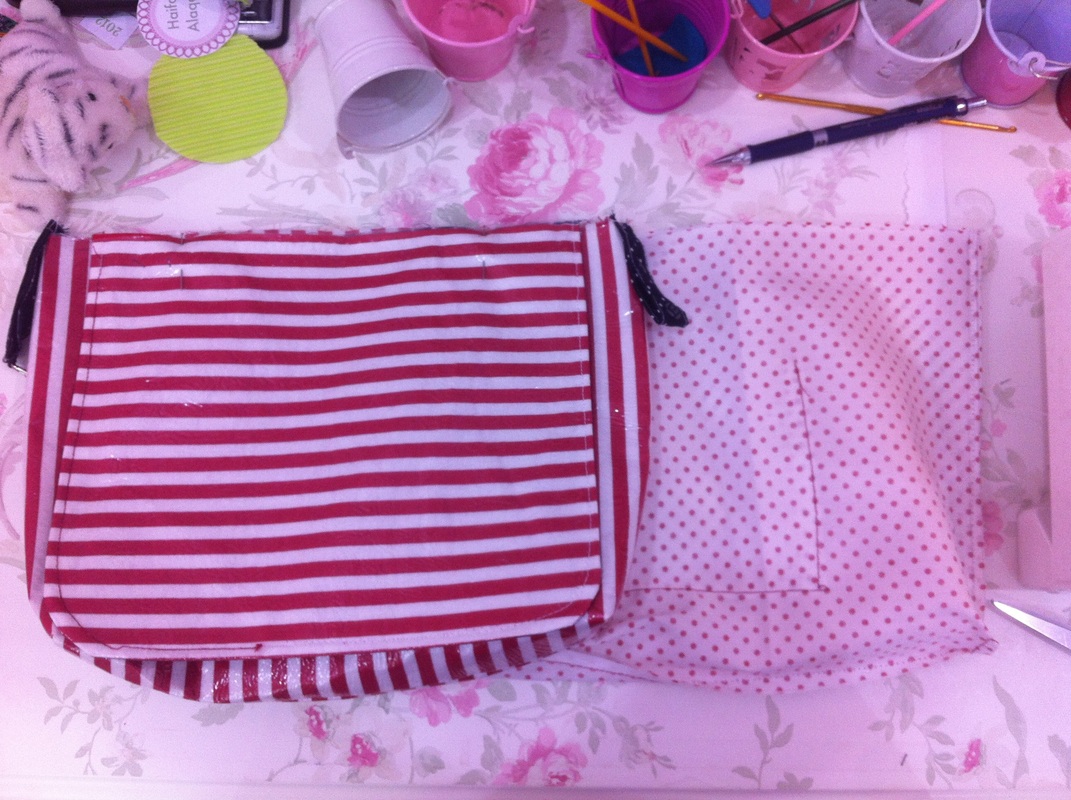
10/ the final look الشكل النهائي
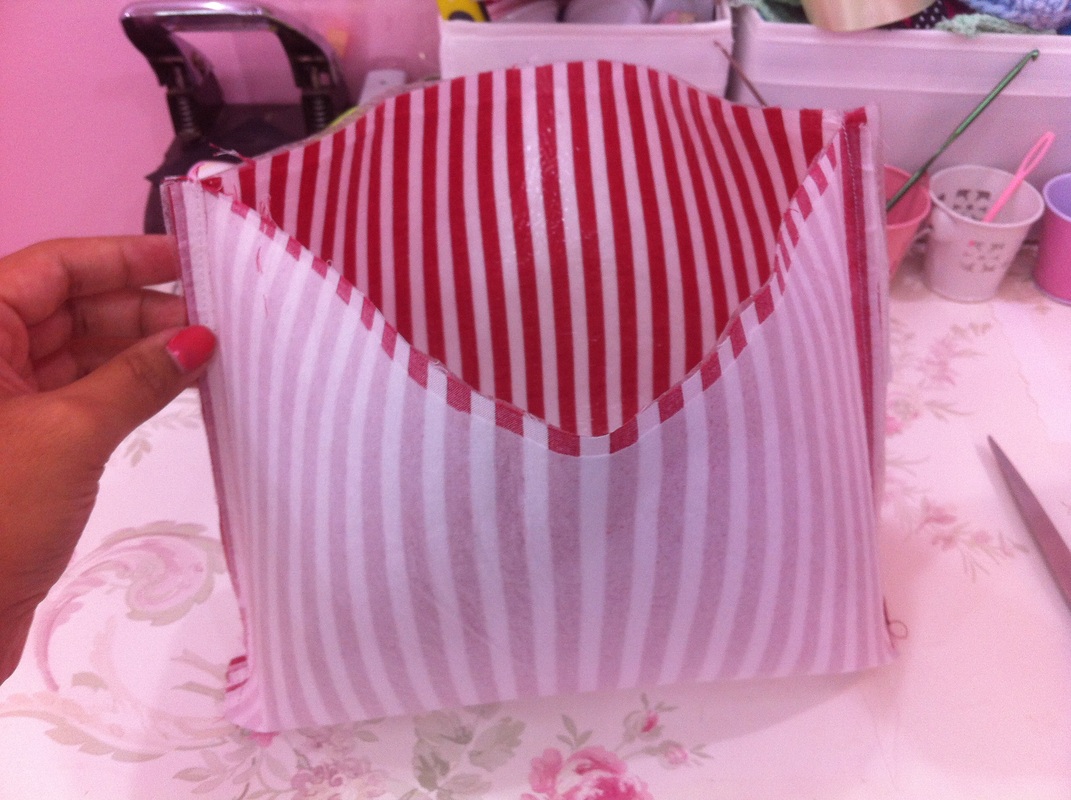
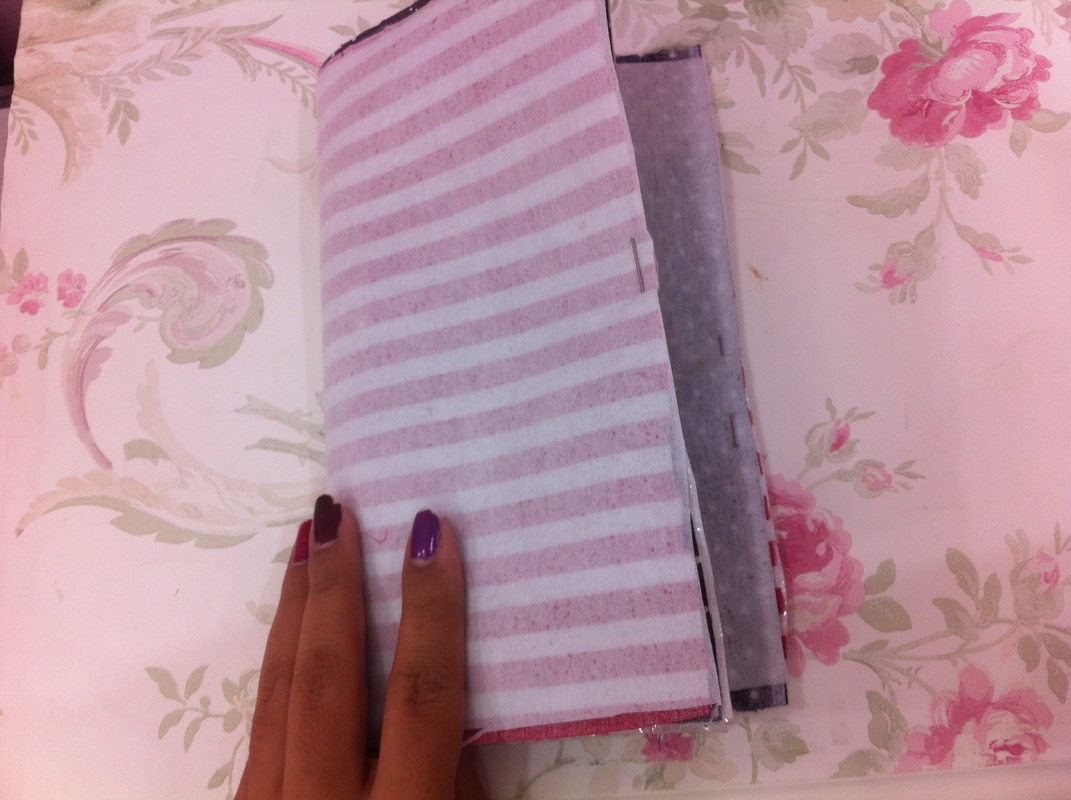
Step 2: the outer fabric الخطوة ٢: القماش الخارجي
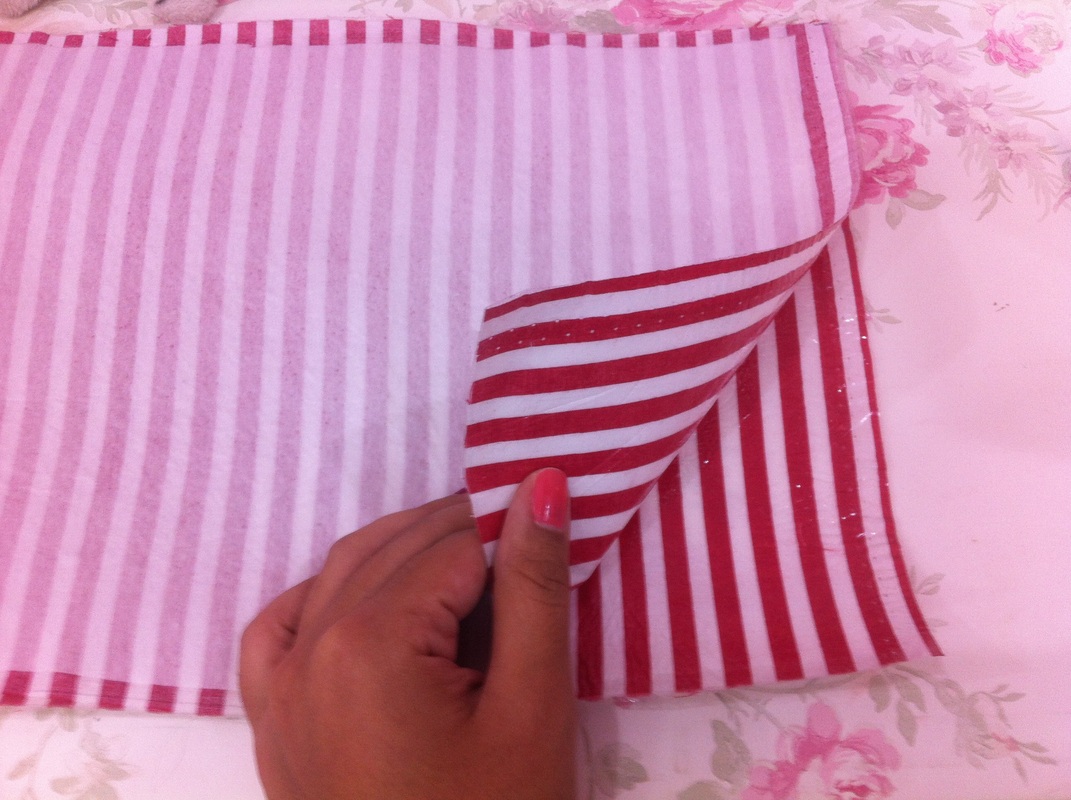
1
2/ do the same in the pictures 5-9 in step 1 اتبعي الخطوات ٥-٩ من الخطوة السابقة
3/ turn inside out اقلبي للخارج
Step 3: the flap الخطوة ٣: اللسان
1
2/ Pin دبّسي

3/ draw identical curve in 2 corners to make the shape of the flap (Optional) ارسمي خطا منحنيا متماثلاً في زاوتين لاعطاء الغطاء شكلاً
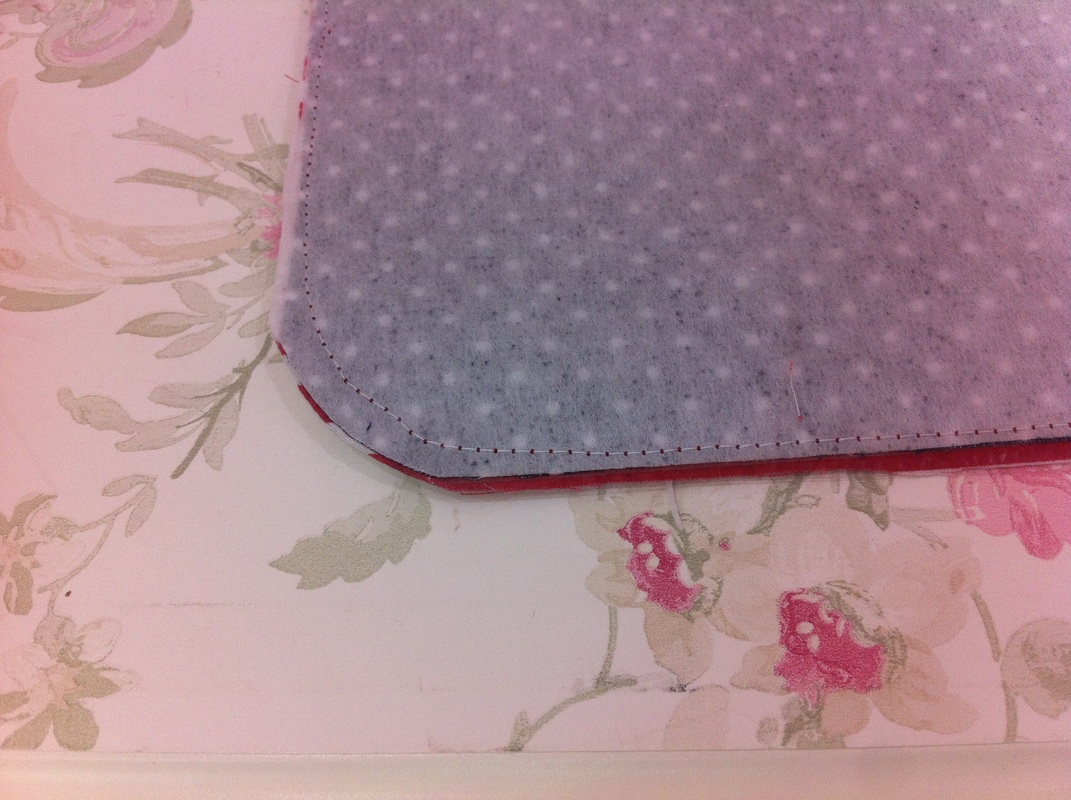
4/ cut & sew the 3 edges قصي ثم خيطي الاطراف الثلاثة
5/ turn inside out اقلبي للخارج
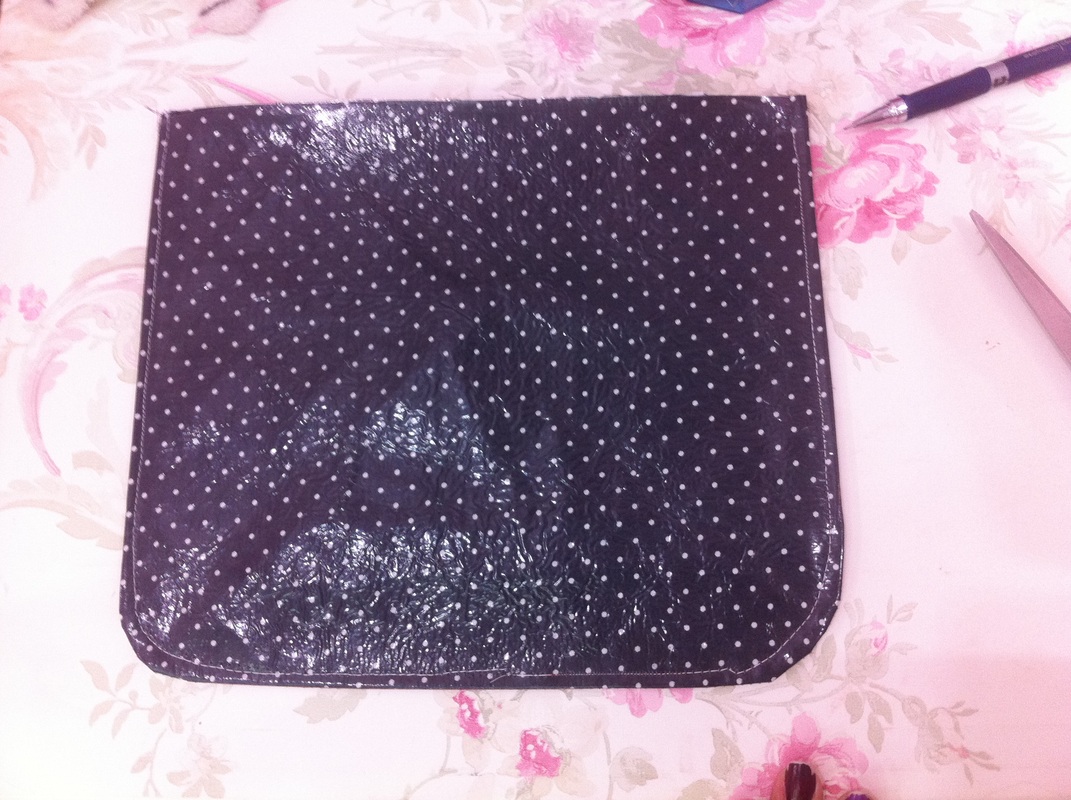
6/ sew the 3 edges (optional) خيطي الاطراف الثلاثة من الخارج (اختياري)
Connecting the dots ^^ مرحلة التجميع
1/ pin the flap on the outer fabric. make sure that the inner side of the flap is facing you دبسي اللسان بالقماش الخارجي بحيث تكون الجهة الخارجية له تواجه الحقيبة
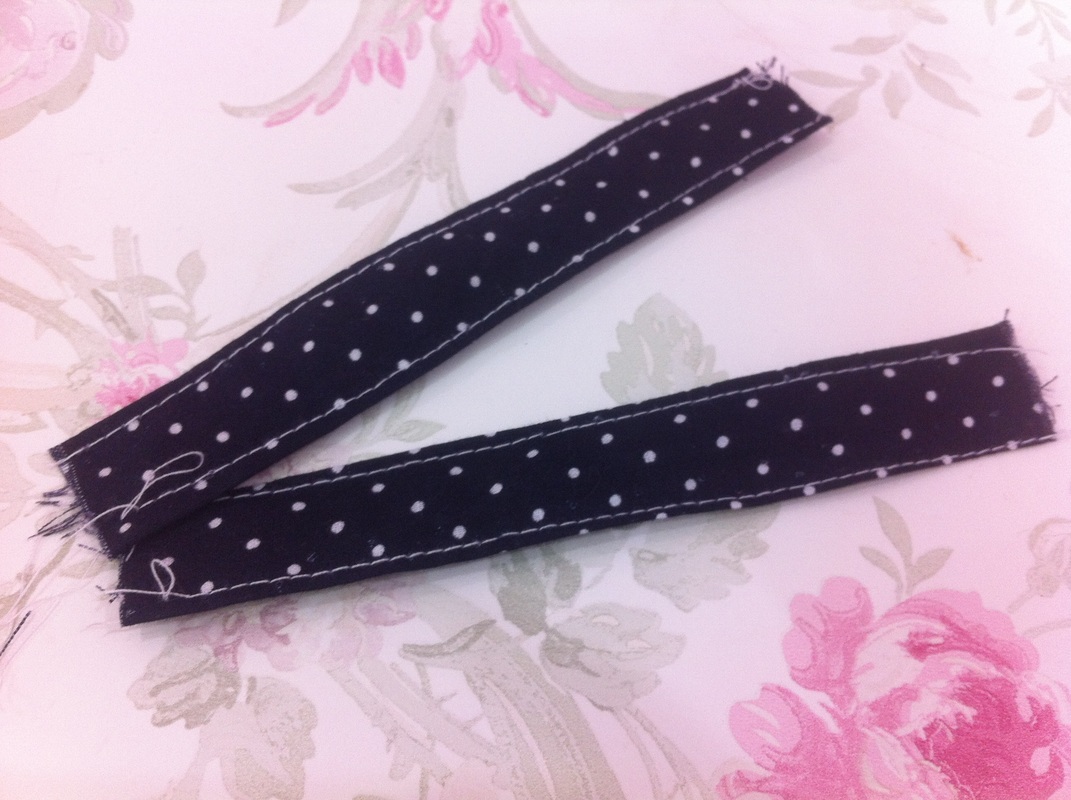
2/ the handles (optional) المقابض (اختيارية)
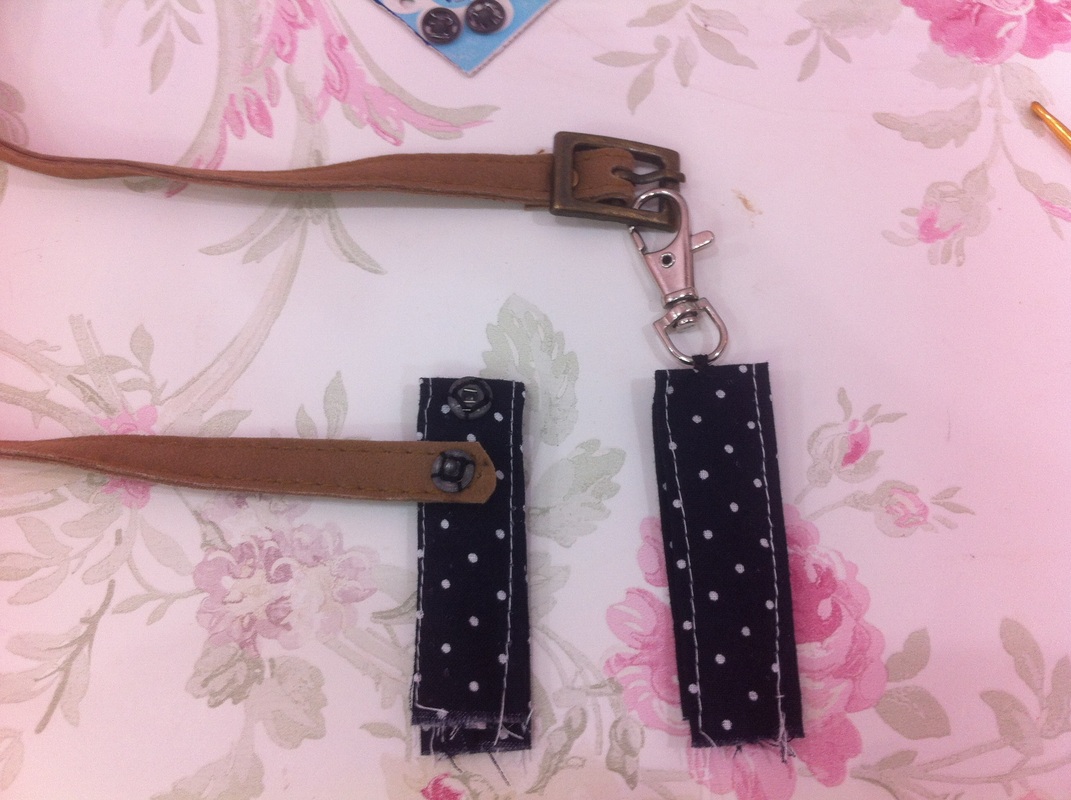
3/ connect the belt with the handles (optional) ثبتي الحزام بالمقابض (اختياري)
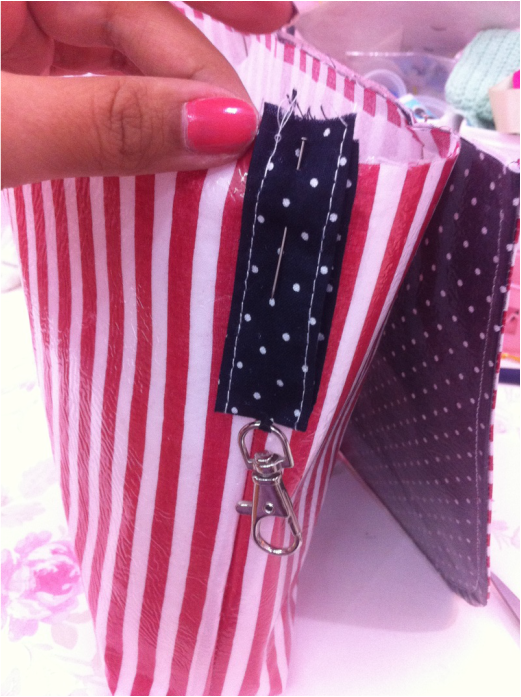
4/ pin the handles or the strap on the side of the outer piece ثبتي المقابض في جوانب القطعة الخارجية
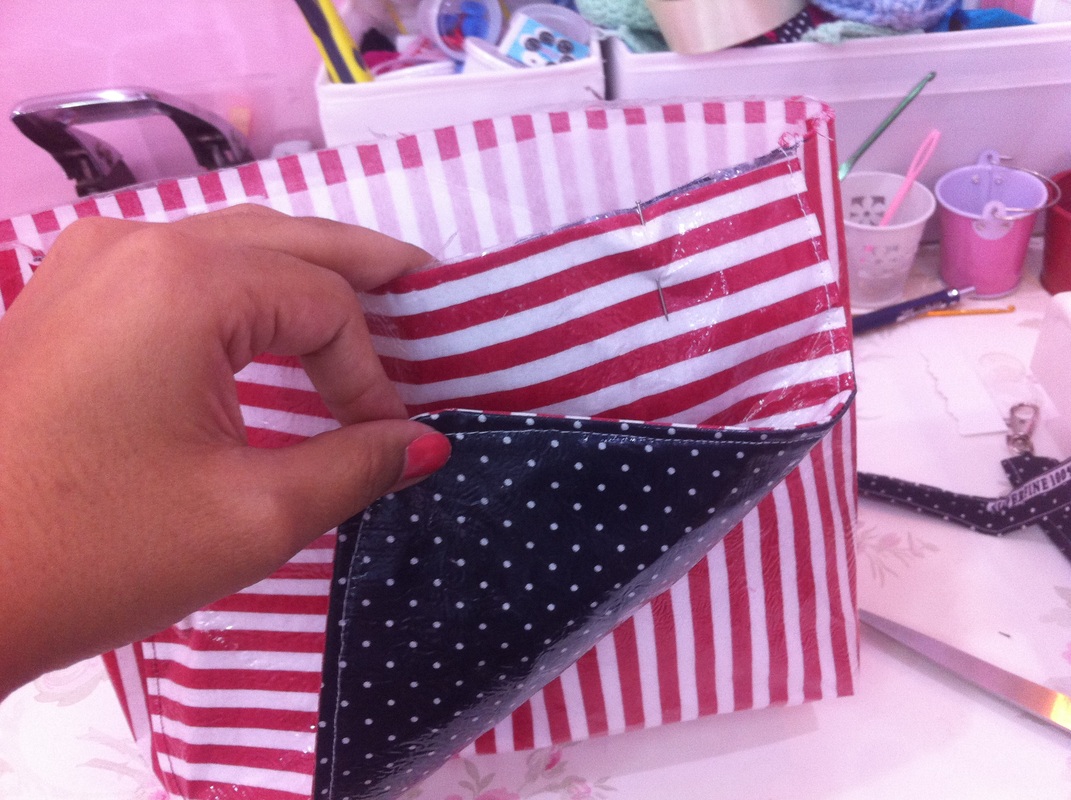
5/ the facing of the lining should be inside (pocket inside) while the facing of the outer piece is outside واجهة قماش البطانة يجب ان تكون للداخل والعكس صحيح للقطعة الخارجية
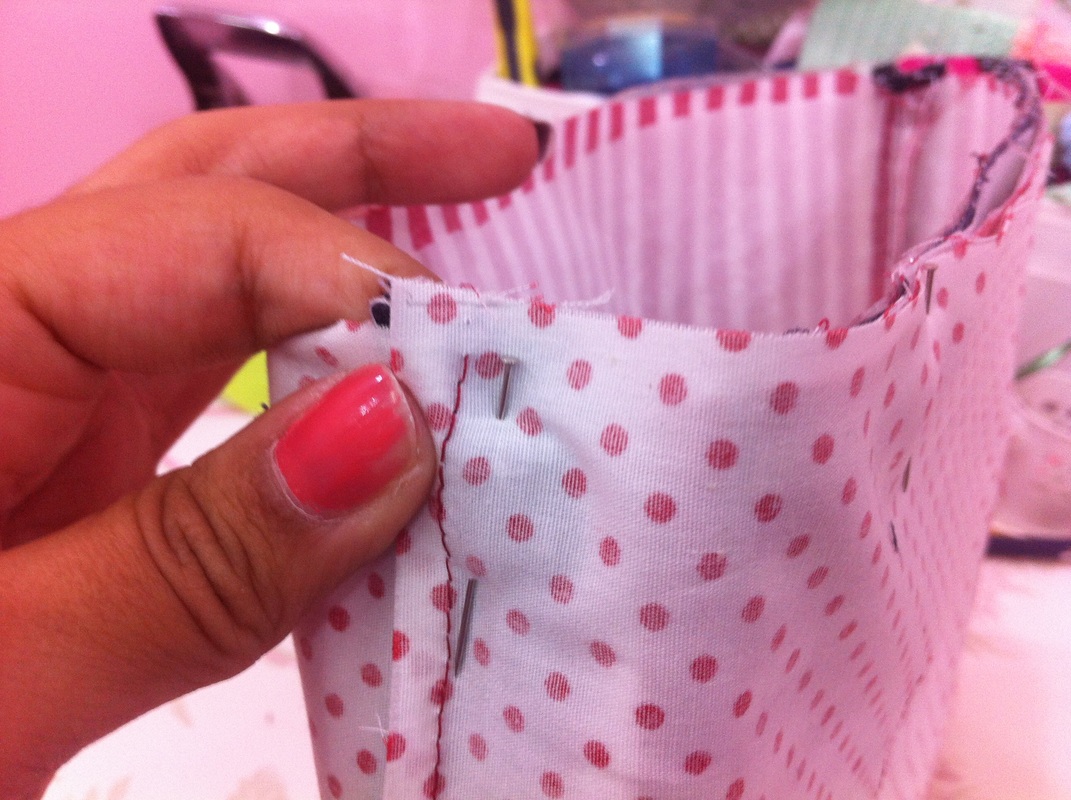
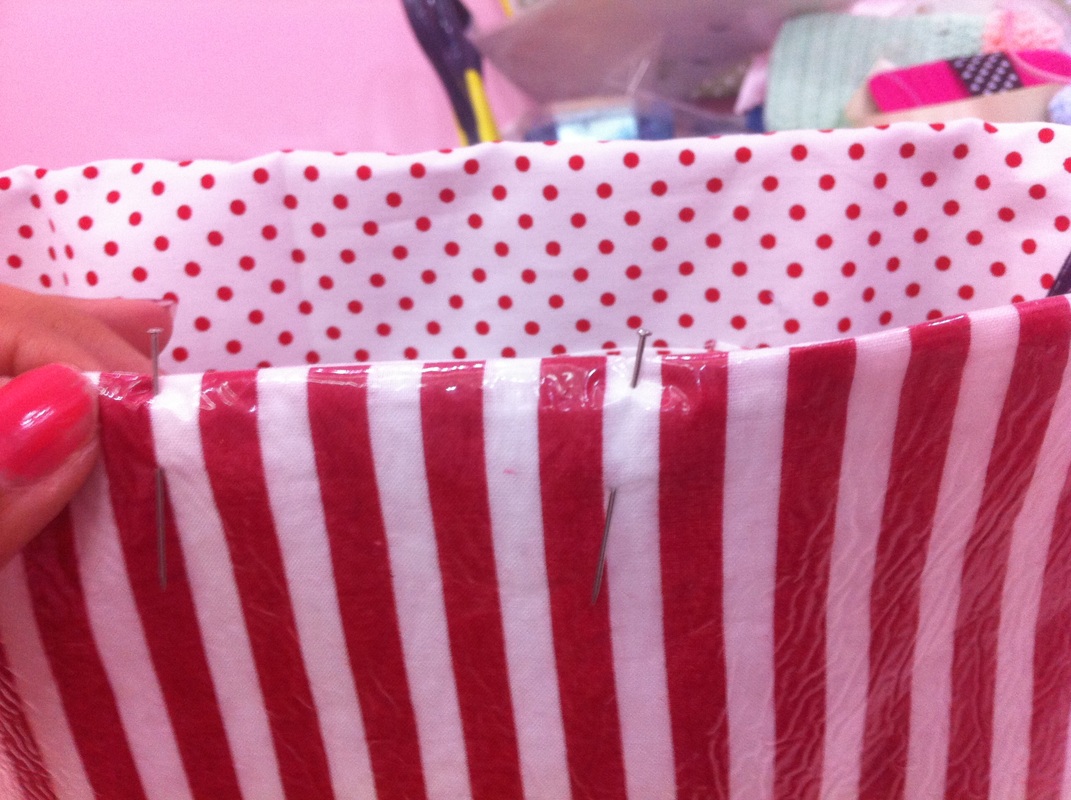
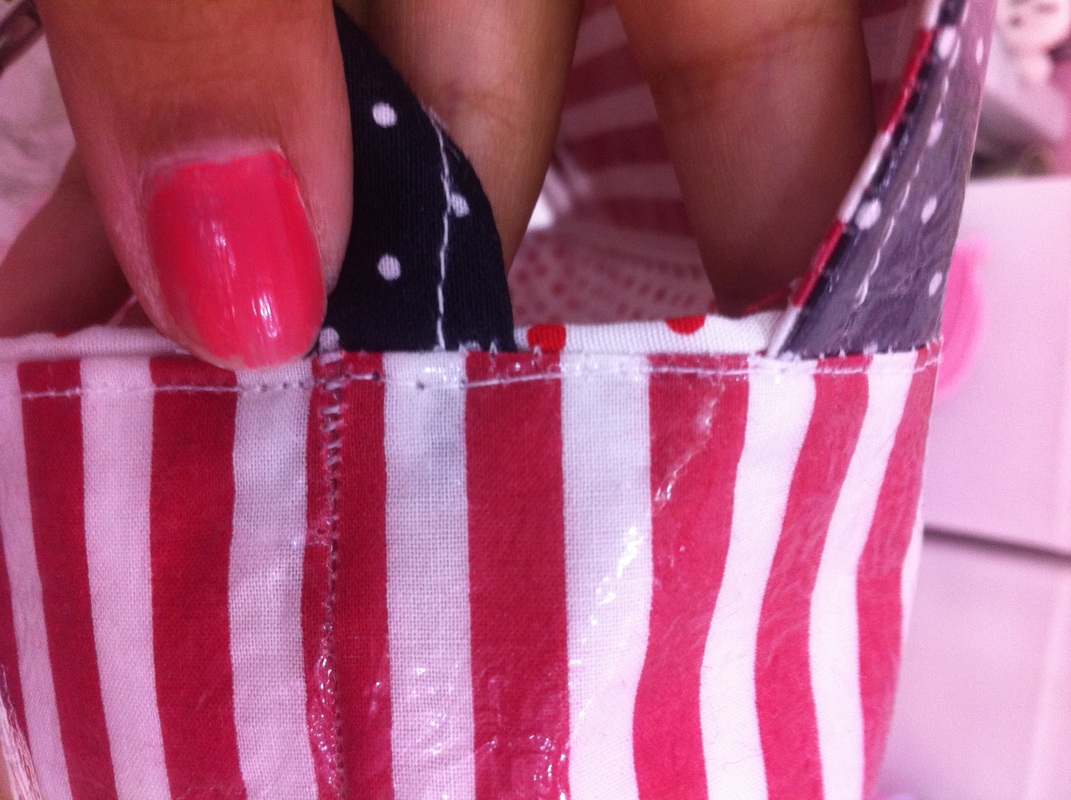
6/ put the outer piece inside the lining and pin around the top ادخلي القطعة الخارجية داخل البطانة ثم دبسي الجهة العليا
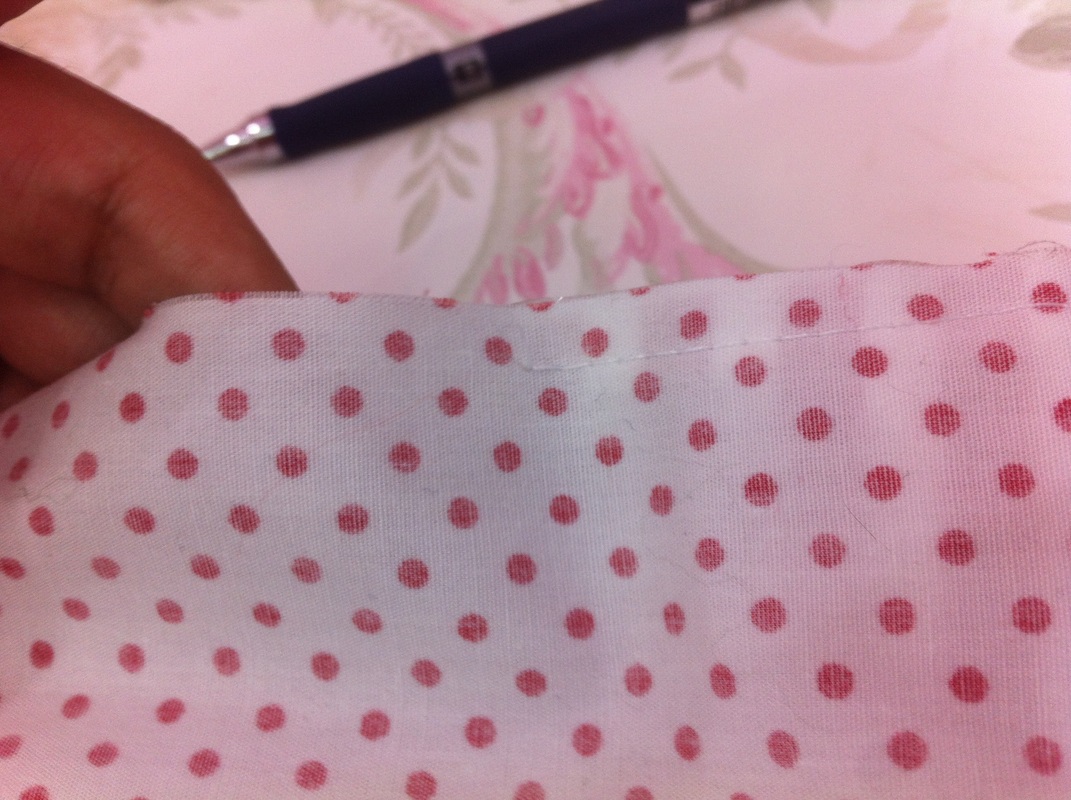
7/ sew but leave a medium gab un-sewn in the middle خيطي مع مراعاة ترك فراغ متوسط الطول في الوسط دون خياطة

8/ turn the bag inside out through the gab اقلبي للخارج من فتحة الفراغ السابق
9/ push the lining inside the bag and pin the gab we left earlier ادفعي البطانة لداخل الحقيبة ثم دبسي الفتحة ليتم خياطتها
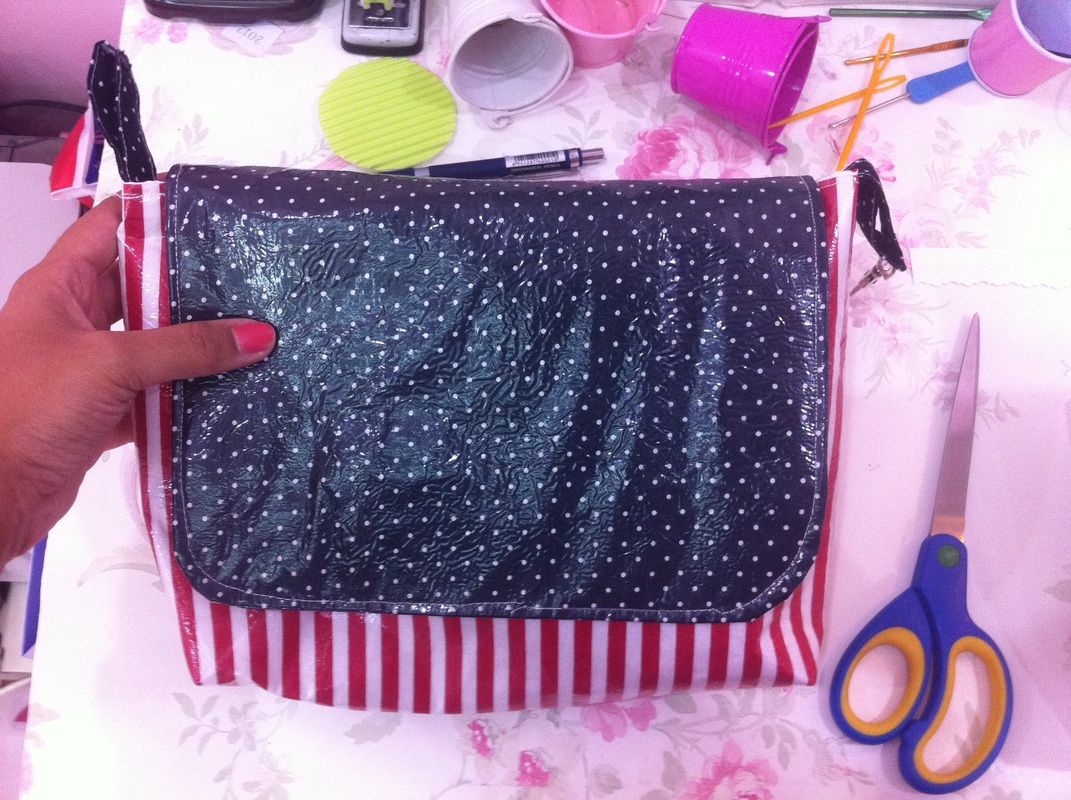
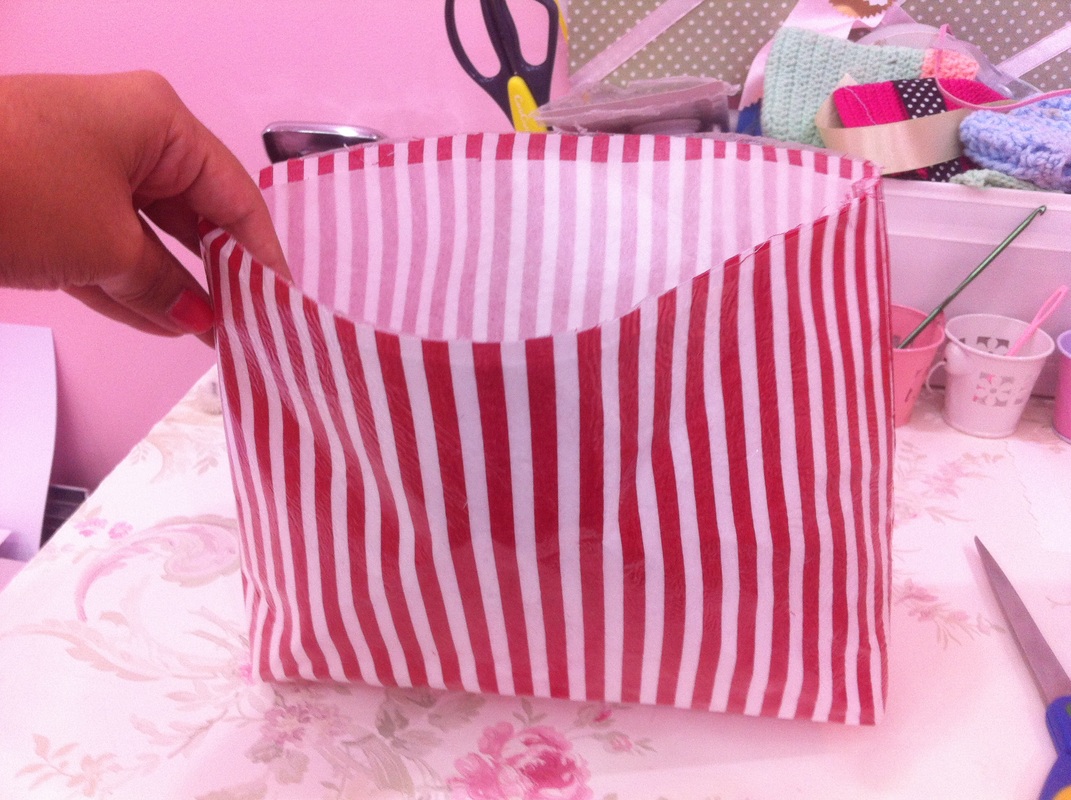
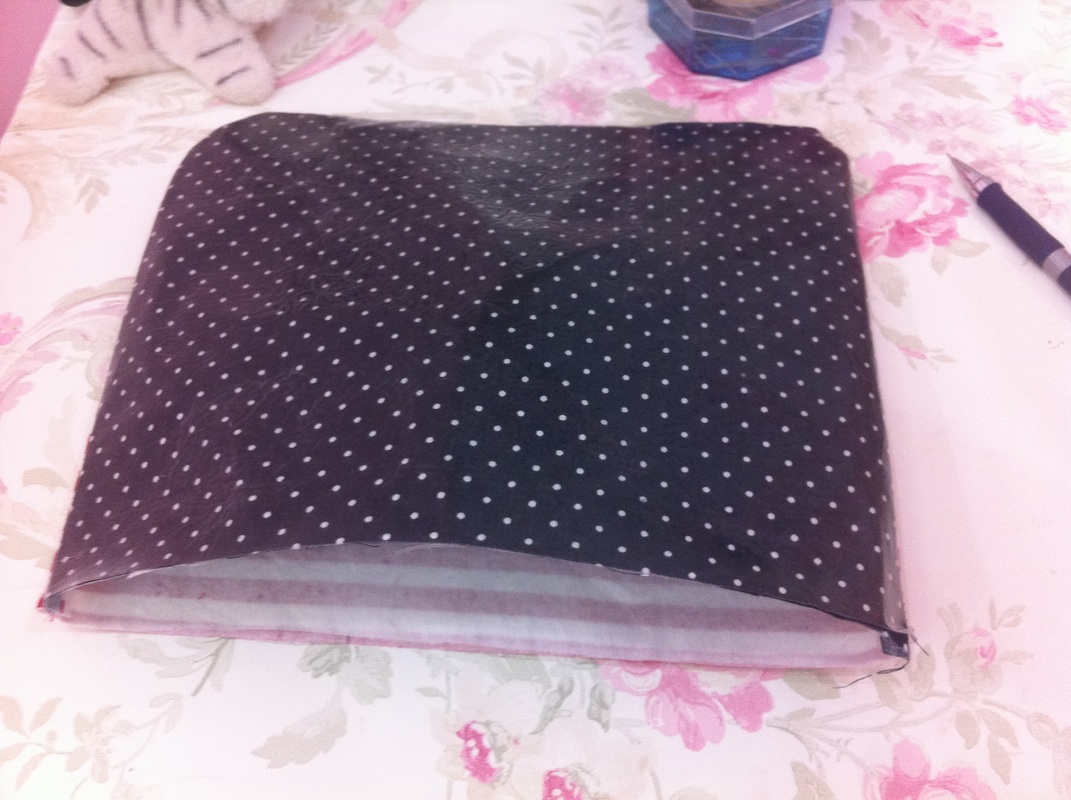
10/ that is how it should look. we're almost there. هكذا يجب ان يكون الشكل النهائي بقي فقط اللمسات الاخيرة
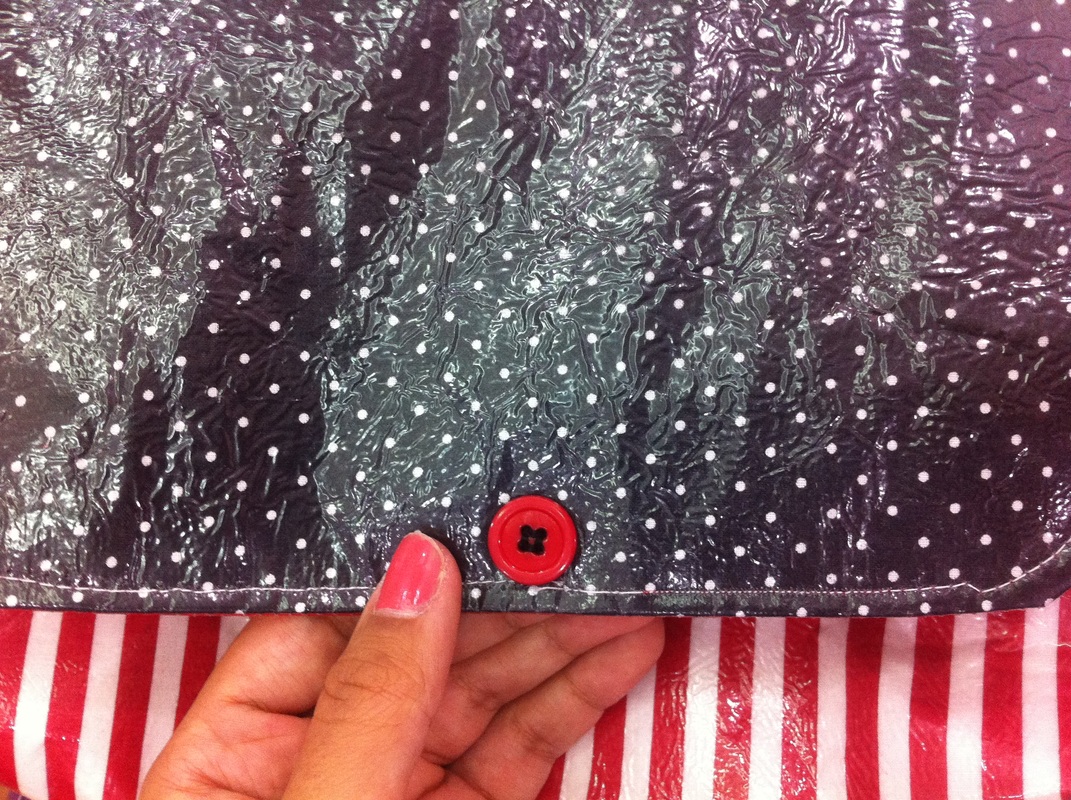
11/ sew a button (optional) خيطي الازراز (اختياري)
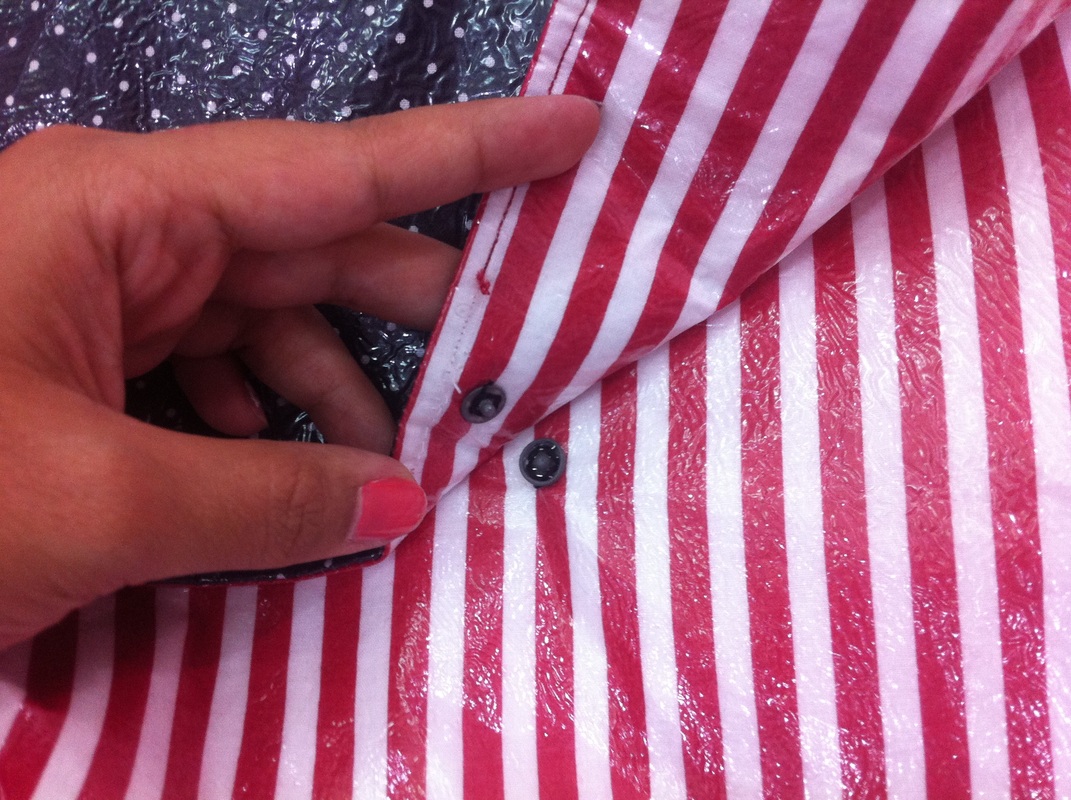
12/ sew the inside buttons below the previous button and you are done ^^ ثبتي الطقطقفي تحت الزرار السابق مباشرة وتكونين انتهيت
The Final Result ^^ النتيجة النهائية
اتمنى ان تكونوا استمتعتم في هذا الدرس وفي عمل حقائبكم، شاركوني ابداعاتكم وارسلوا لي صور منتجاتكم لأضعها هنا في المدونة ^^
I hope you enjoyed this tutorial and making your own bags. share your creations with me and my readers and send me picture of your crafts to put them here in the blog.
I hope you enjoyed this tutorial and making your own bags. share your creations with me and my readers and send me picture of your crafts to put them here in the blog.
 RSS Feed